
A move-in inspection form records the condition of a rental property before the tenant takes possession. Both parties walk through the unit, note any existing damage, and sign the form. When the lease ends, you compare the move-in form to the move-out inspection and settle the deposit based on what changed.
Without one, every deposit dispute becomes a he-said-she-said argument. The landlord says the scratch on the hardwood was caused by the tenant. The tenant says it was there when they moved in. Neither can prove it. A move-in inspection form with photos or video eliminates that argument before it starts.
This guide covers what to include on the form, how to document each room, why video walkthroughs are replacing photos as the standard, and the new state laws that now require documented evidence at move-in.
What goes on a move-in inspection form
Every room and area gets its own section. For each item, you're recording the current condition - not whether it's clean, but whether it's damaged, worn, or needs repair. The standard rating scale is simple: Good, Fair, Poor, or N/A.
General property information
This goes at the top of the form:
- Property address
- Unit number (if applicable)
- Tenant name(s)
- Move-in date
- Landlord or property manager name
Room-by-room checklist
Each room section should cover the same categories:
| Item | What to check |
|---|---|
| Walls | Scuffs, holes, cracks, paint condition, stains |
| Floors | Scratches, stains, loose tiles, carpet wear, creaky boards |
| Ceiling | Water stains, cracks, peeling paint |
| Windows | Cracks, seal condition, locks working, screens intact |
| Doors | Opening/closing smoothly, locks working, handle condition |
| Light fixtures | Working bulbs, fixture condition, switch operation |
| Outlets and switches | All working, cover plates intact |
Kitchen specifics
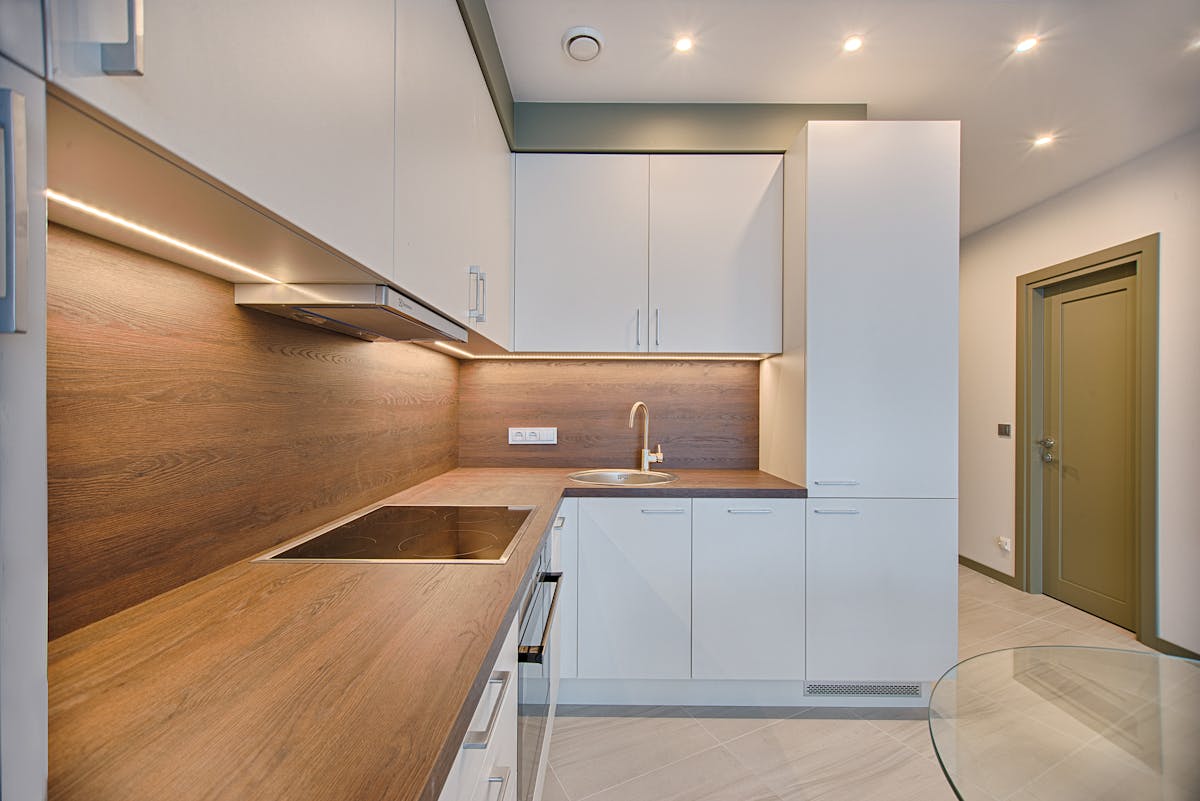
The kitchen has more things that can go wrong. In addition to the standard room items, check:
- Countertops - chips, burns, stains, grout condition
- Cabinets - doors close properly, shelves stable, hinges intact
- Sink and faucet - leaks, water pressure, drain speed
- Appliances - each one separately (stove, oven, fridge, dishwasher, microwave). Note the make and model if you can
- Garbage disposal - runs, doesn't jam
- Range hood/vent - fan works, filter clean

Bathroom specifics
- Toilet - flushes properly, no running, base sealed
- Shower/tub - water pressure, drain speed, caulking, tile condition, grout
- Mirror - cracks, mounting
- Exhaust fan - works, not noisy
- Under the sink - check for leaks or water damage. This is the area most people skip, and it's where most problems hide
Other areas
Don't forget these - they're the ones that cause deposit disputes because nobody documented them:
- Closets - shelving, rods, doors
- Garage - door opener works, floor condition, walls
- Balcony/patio - railing secure, floor surface, drainage
- Laundry area - hookups working, dryer vent clear
- Exterior - yard condition, fencing, walkways, exterior walls near unit
- Smoke and CO detectors - test every single one. It's a safety requirement and a liability issue
Comments section
Every room section needs a free-text area for notes. The checklist catches the standard items, but the unusual stuff - the dent in the bedroom door, the missing tile behind the toilet, the crack in the garage floor - goes in the comments.
Be specific. "Some wear" means nothing in a dispute. "3-inch scratch on hardwood, 2 feet from south wall" is what holds up.
How to fill out the form
Do the inspection together
This is the most important rule. Landlord and tenant walk through together, check every item together, and both sign the form. An inspection done by the landlord alone, or mailed to the tenant to fill out separately, is much weaker in a dispute.
If the tenant can't be present, have them complete the inspection within the first 48 hours and return it with photos. Most states allow this, but the joint walkthrough is always stronger.
Take photos of everything
The form itself is the record. But photos are the proof. Redfin's move-in checklist guide recommends attaching photos to the form with a title for each image identifying the room, any issues, and the date.
Three to four photos per room (walls, floor, ceiling, any damage) covers the basics. Add close-ups of anything that isn't in perfect condition. The key is timestamps - make sure your phone's date and time are visible in the photo metadata.
Or better: do a video walkthrough
Photos miss context. A photo of a scratch on the floor doesn't show how long it is or where in the room it sits. You'd need three photos to capture what a five-second video pan does in one take.
A video walkthrough of each room captures everything the camera sees - walls, floors, ceilings, fixtures - in continuous footage. Narrate as you go: "This is the master bedroom, south wall. There's a small scuff mark about four feet up, near the light switch." That narration becomes a searchable record if the video gets transcribed.
For a detailed guide on what to document and how, see our property condition report guide.
Video walkthroughs capture small details that are easy to overlook when snapping individual photos. One continuous pan around a room shows every wall, every corner, every fixture - and if you narrate what you're seeing, you've got timestamped evidence that's hard to argue with in court.
New state laws are changing the rules
Move-in inspections used to be optional best practice. Several states are now making documented inspections a legal requirement.
California (AB 2801): Starting July 1, 2025, landlords must take dated photographs of the unit's condition at move-in for all new tenancies. At move-out, photos are required both before and after any repairs or cleaning. Landlords who fail to provide the required photos face liability for up to twice the deposit amount in statutory damages, on top of actual damages.
Colorado (HB25-1249): Effective January 1, 2026, a landlord is presumed to have withheld an unreasonable amount if the deduction exceeds 125% of the actual damages. The burden of proof shifts to the landlord to justify the amount. The law also requires walk-through inspections on request and caps deposits at one month's rent.
These laws shift the burden of proof. It used to be: the tenant needs evidence to challenge a deduction. Now it's: the landlord needs evidence to justify one. If you're a landlord without a documented move-in inspection, you're at a disadvantage in any deposit dispute filed after these laws took effect.
And the trend is spreading. Even in states without specific requirements, courts give more weight to documented evidence. A landlord who shows up with timestamped photos and a signed inspection form wins the dispute. One who shows up with "I remember it was in good condition" doesn't.
Move-in inspection form vs property condition report
These terms get used interchangeably, but they serve slightly different purposes:
| Move-in inspection form | Property condition report | |
|---|---|---|
| Who uses it | Landlords and tenants at a residential rental | Property managers, buyers, lenders, engineers |
| When | Start and end of a tenancy | Before a sale, refinance, or annual review |
| Depth | Room-by-room checklist with condition ratings | Full assessment including structural, mechanical, and capital reserves |
| Standard | No formal standard (though states set minimum requirements) | ASTM E2018 for commercial properties |
| Who fills it out | Landlord and tenant together | Certified inspector or engineer |
For residential rentals, a move-in inspection form is what you need. For commercial real estate or formal assessments, see our guide on property condition reports.
Common mistakes
Not doing the inspection before handing over keys. Once the tenant has moved furniture in, you can't see the floors. Once they've hung pictures, you can't see the walls. The inspection happens before move-in, ideally the day of key handover.
Being too vague. "Normal wear" is subjective. "Two-inch paint chip on bathroom door frame, upper left corner" is a fact. When the lease ends, facts win arguments.
Skipping areas that seem fine. The cleanest-looking room still gets documented. If you skip the living room because it looks perfect and the tenant later scratches the floor, you've got no baseline to compare against.
Only using the landlord's copy. Both parties need a signed copy. Email works. The point is that neither side can alter the form after the fact.
No photos or video. A checklist with "Good" marked for every item doesn't prove anything in court. Visual evidence does. States like California now require it by law - but even where it's optional, it's the difference between winning and losing a dispute.
Using a static PDF or paper form. Paper forms get lost, can't be searched, and make it hard to attach photos. A digital form that captures responses, timestamps, and media in one place gives you a stronger record that's easier to reference when the lease ends.
Build your move-in inspection form
A move-in inspection form doesn't need to be complicated. It needs to be thorough, signed by both parties, and backed by visual evidence. The states requiring photo documentation are just codifying what good landlords were already doing.
Clipform lets you build a move-in inspection form where tenants and landlords can record video walkthroughs of each room directly in the form - no file uploads, no separate photo albums. Every response is timestamped and auto-transcribed, so you've got a searchable record of exactly what the property looked like on day one. When the lease ends, you've got the evidence you need in one place.